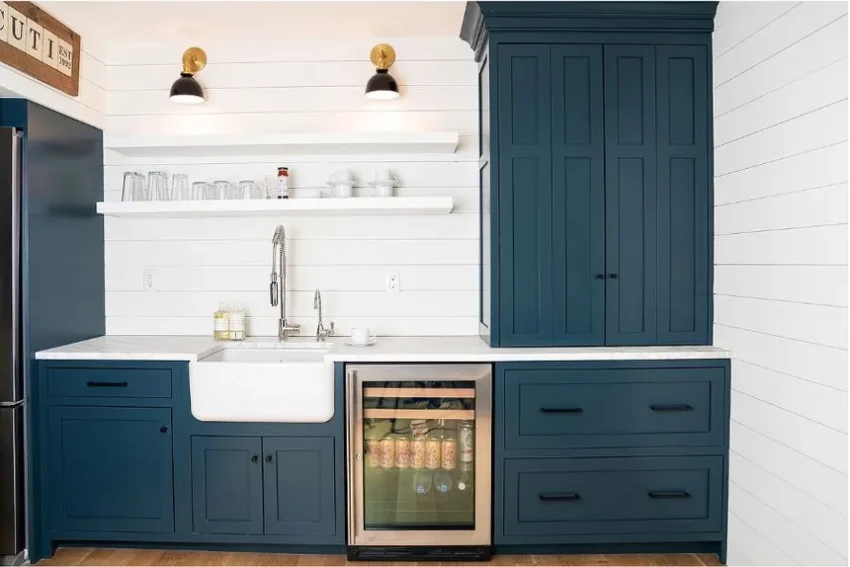
A kitchen renovation is one of the most rewarding home improvement projects — it can transform your space, improve functionality, and boost your home’s value. However, without a solid plan, it can quickly become overwhelming. To help you stay organized and achieve the results you want, here’s a step-by-step guide to a successful kitchen renovation, from planning to completion.
Step 1: Plan Your Vision and Budget
Before tearing down walls or buying appliances, start with a clear plan.
- Define Your Goals: Do you want more storage, modern aesthetics, or better functionality?
- Set a Realistic Budget: Include costs for materials, labor, permits, and a 10–15% buffer for unexpected expenses.
- Gather Inspiration: Look at home design magazines, Pinterest, or remodeling websites to identify your preferred styles and layouts.
Tip: Write down your “must-haves” versus “nice-to-haves” to help prioritize spending later.
Step 2: Assess Your Current Kitchen Layout
Evaluate how your current kitchen functions.
- Are there bottlenecks or awkward spaces?
- Is there enough counter space and storage?
- Does the work triangle (sink, stove, refrigerator) flow efficiently?
Understanding what’s not working will help you design a more practical and efficient layout for your renovation.
Step 3: Design and Choose Your Layout
Once you’ve analyzed your needs, decide on a layout that works best for your space and lifestyle.
Common kitchen layouts include:
- L-Shaped: Great for open spaces and small kitchens.
- U-Shaped: Offers maximum counter and cabinet space.
- Galley: Perfect for narrow spaces with parallel counters.
- Island Kitchen: Adds workspace and seating for a social cooking area.
Pro Tip: Consider consulting a kitchen designer for professional insights on functionality and style.
Step 4: Select Materials and Finishes
Now comes the fun part — choosing the finishes that define your kitchen’s look and feel.
- Cabinets: Decide between refacing, painting, or replacing.
- Countertops: Popular choices include quartz, granite, laminate, and butcher block.
- Flooring: Choose durable materials like vinyl, tile, or hardwood.
- Backsplash: Add personality with tiles, glass, or even peel-and-stick options.
Stick to a cohesive color palette for a timeless and balanced look.
Step 5: Hire Professionals (If Needed)
Unless you’re tackling a small DIY project, you may need professionals to handle certain tasks:
- Contractors for general remodeling.
- Electricians for wiring and lighting installation.
- Plumbers for sink and dishwasher setup.
- Carpenters for cabinetry and custom work.
Always check reviews, verify licenses, and request detailed estimates before hiring anyone.
Step 6: Prepare for Demolition
Before the real work begins, get your kitchen ready:
- Remove appliances, dishes, and furniture.
- Protect floors and nearby rooms from dust and debris.
- Set up a temporary kitchen in another part of the house to make meals easier during construction.
If you’re handling demolition yourself, be careful when removing cabinets and fixtures to avoid damaging plumbing or wiring.
Step 7: Handle Structural and Utility Work First
Once demolition is complete, focus on the foundation of your renovation:
- Plumbing and Electrical: Reroute or upgrade as needed for new appliances or fixtures.
- Walls and Ceilings: Repair or add drywall, insulation, or ventilation.
- Flooring Base: Install or repair subfloors if necessary.
This step ensures your kitchen is safe, efficient, and ready for the visible updates to come.
Step 8: Install Cabinets, Countertops, and Flooring
Now your kitchen starts taking shape:
- Install Cabinets — Start with upper cabinets, then move to the base.
- Add Countertops — Measure accurately for a seamless fit.
- Lay Flooring — Install last to avoid damage during other installations.
Take your time during this stage — precision is key to a polished finish.
Step 9: Upgrade Fixtures and Appliances
Next, bring in the essential elements:
- Install Appliances — such as stoves, refrigerators, and dishwashers.
- Mount Lighting Fixtures — including under-cabinet, pendant, and recessed lights.
- Attach Faucets and Sinks — ensuring proper plumbing connections.
This step combines functionality with style, setting the tone for your kitchen’s final appearance.
Step 10: Add Finishing Touches
Your kitchen is almost ready! Now it’s time for the final details:
- Paint walls or add wallpaper for personality.
- Install backsplash tiles for a clean, modern finish.
- Add décor items like bar stools, plants, or wall art.
- Clean thoroughly to remove construction dust and debris.
Once everything is in place, step back and admire your hard work — your dream kitchen is complete!
Final Thoughts
A successful kitchen renovation is all about careful planning, smart budgeting, and attention to detail. By following these ten steps, you can create a kitchen that’s beautiful, functional, and built to last. Whether you’re upgrading on a tight budget or designing your forever home, this step-by-step approach ensures a smooth and rewarding renovation experience.

